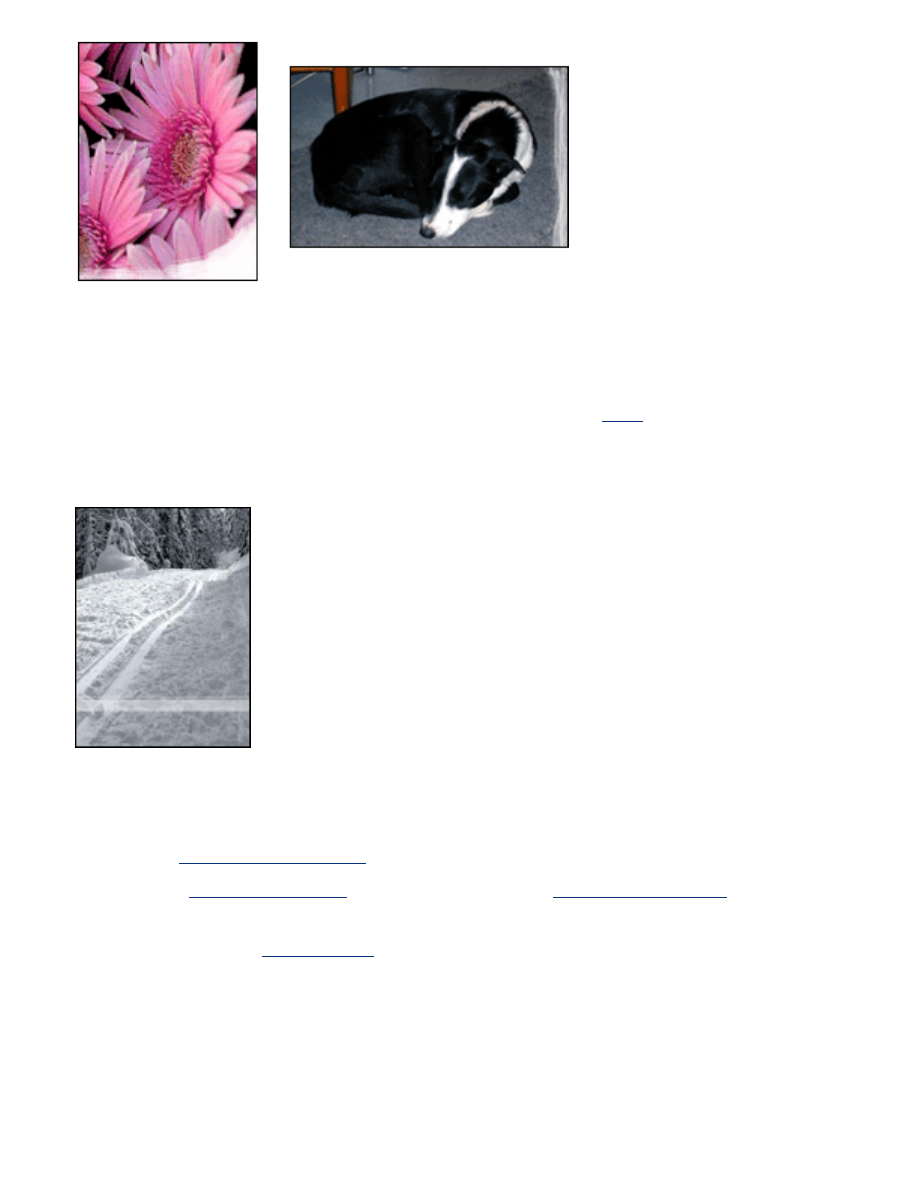
photos are not printing correctly
check the paper trays
1. Verify that the photo paper is placed in the In tray with the printable side down.
2. Slide the paper forward until it stops.
3. Slide the paper guides
firmly
against the paper.
check the printer properties
Open the
Printer Properties
dialog box and verify the following options:
tab
setting
Paper/
Quality
Size is
: Appropriate size
Type is
:
Photo Paper
Print Quality
:
Best
colors are tinted or incorrect
If colors in photographs appear tinted or incorrect, follow these steps:
1.
Calibrate
the print cartridges.
2. Reprint the photograph.
3. If colors are still tinted or incorrect,
calibrate the color
.
A photo print cartridge must be installed for color calibration.
4. Reprint the photograph.
5. If colors are still tinted or incorrect, then open the
Printer Properties
dialog box,
select the
Color
tab, then do the following:
❍
If the colors are too yellow, move the
Color Tone
slider towards
Cooler
.
❍
If the colors are too blue, move the
Color Tone
slider towards
Warmer
.
6. Reprint the photograph.
7. If colors are still tinted or incorrect,
calibrate
the print cartridges.
part of the photograph is faded
fading occurs on the edges of a printout

Verify that photo paper is not curled. If the photo paper is curled, place the paper in a
plastic bag and gently bend it the opposite direction of the curl until the paper lies flat. If
the problem persists, then use photo paper that is not curled.
For instructions on preventing photo paper from curling, click
here
.
fading occurs near the edges of a printout
If fading occurs approximately 1 to 2.5 inches from the edge of a photograph, try the
following:
●
Install a
photo print cartridge
in the printer.
●
Open the
Printer Properties
dialog box, select the
Paper Type/Quality
tab, then set
the
Print Quality
to
Maximum dpi
.
●
Rotate the image
180 degrees
.